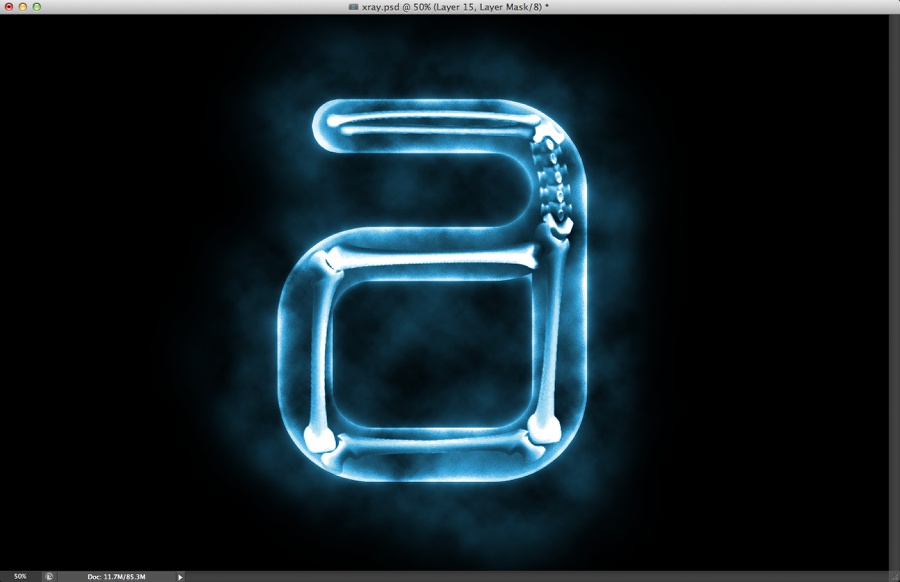
Add a new layer on top of the others and fill it with black, then with the Eraser Tool (E) and a very soft brush, start erasing some areas over the letter A. Use the image below for reference.
Select all layers and duplicate them. Once again merge the new layers into one and then change the Blend Mode to Overlay. Also, go to Image>Adjustment>Desaturate.
Select all layers and duplicate them. Once again merge the new layers into one and then change the Blend Mode to Soft Light at 50% Opacity. Then go to Filter>Blur>Gaussian Blur. Use 20px for the Radius.
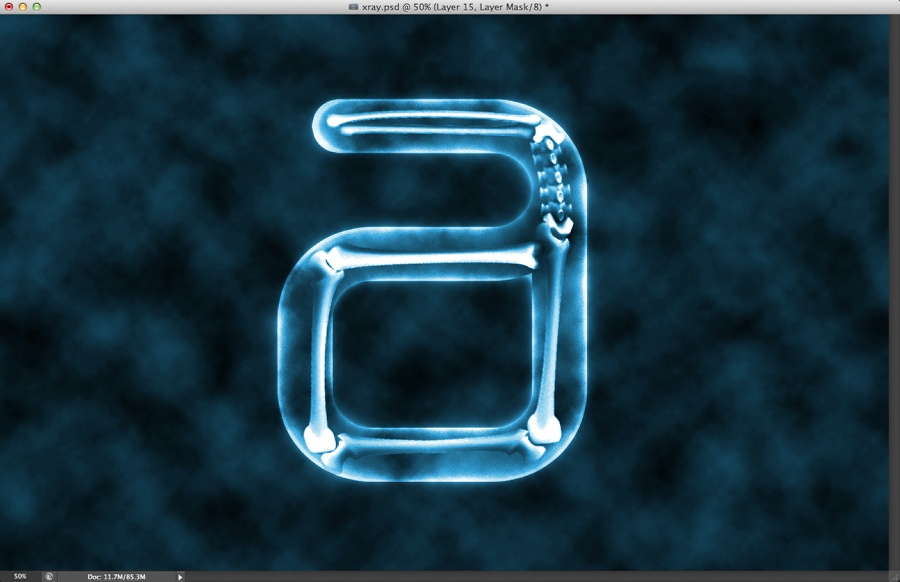
This tutorial was just a quick tip on how to create a nice x-ray effect. You can add a little bit more effects and adjustments like noise or different light effects. But that is up to you Have fun.


 Have fun.